
Dermal Filler Aftercare Instructions for Best Results
- Charis Aesthetics
- Jul 28, 2025
- 13 min read

Proper dermal filler aftercare is your roadmap to protecting your investment and ensuring a smooth, beautiful recovery. At its heart, it’s all about gently managing that initial swelling, steering clear of certain activities for the first 24-48 hours, and letting the filler settle in peacefully for the best possible results.
Your Immediate Post-Filler Aftercare Plan
So, you’ve just left the clinic and you’re feeling excited about your results. What you do in the next few hours and days is absolutely crucial. This isn’t just about minimising a bit of bruising; it’s about setting the stage for the beautiful, natural-looking enhancement you came in for.
Think of this initial period as putting a gentle “do not disturb” sign on your newly treated areas. The first 24 hours are the most important. Your main goals are simple: reduce swelling, prevent any chance of infection at the injection sites, and avoid anything that could make the filler shift before it has had a chance to integrate with your tissue.
Key Actions for the First 24 Hours
Your focus should be on simple, calming actions. Keeping your head elevated, even while you sleep, can make a huge difference to any morning-after puffiness. Just pop an extra pillow under your head to prop yourself up comfortably.
This simple guide shows how the most important steps, like using a cold compress, are concentrated in the first day or two.
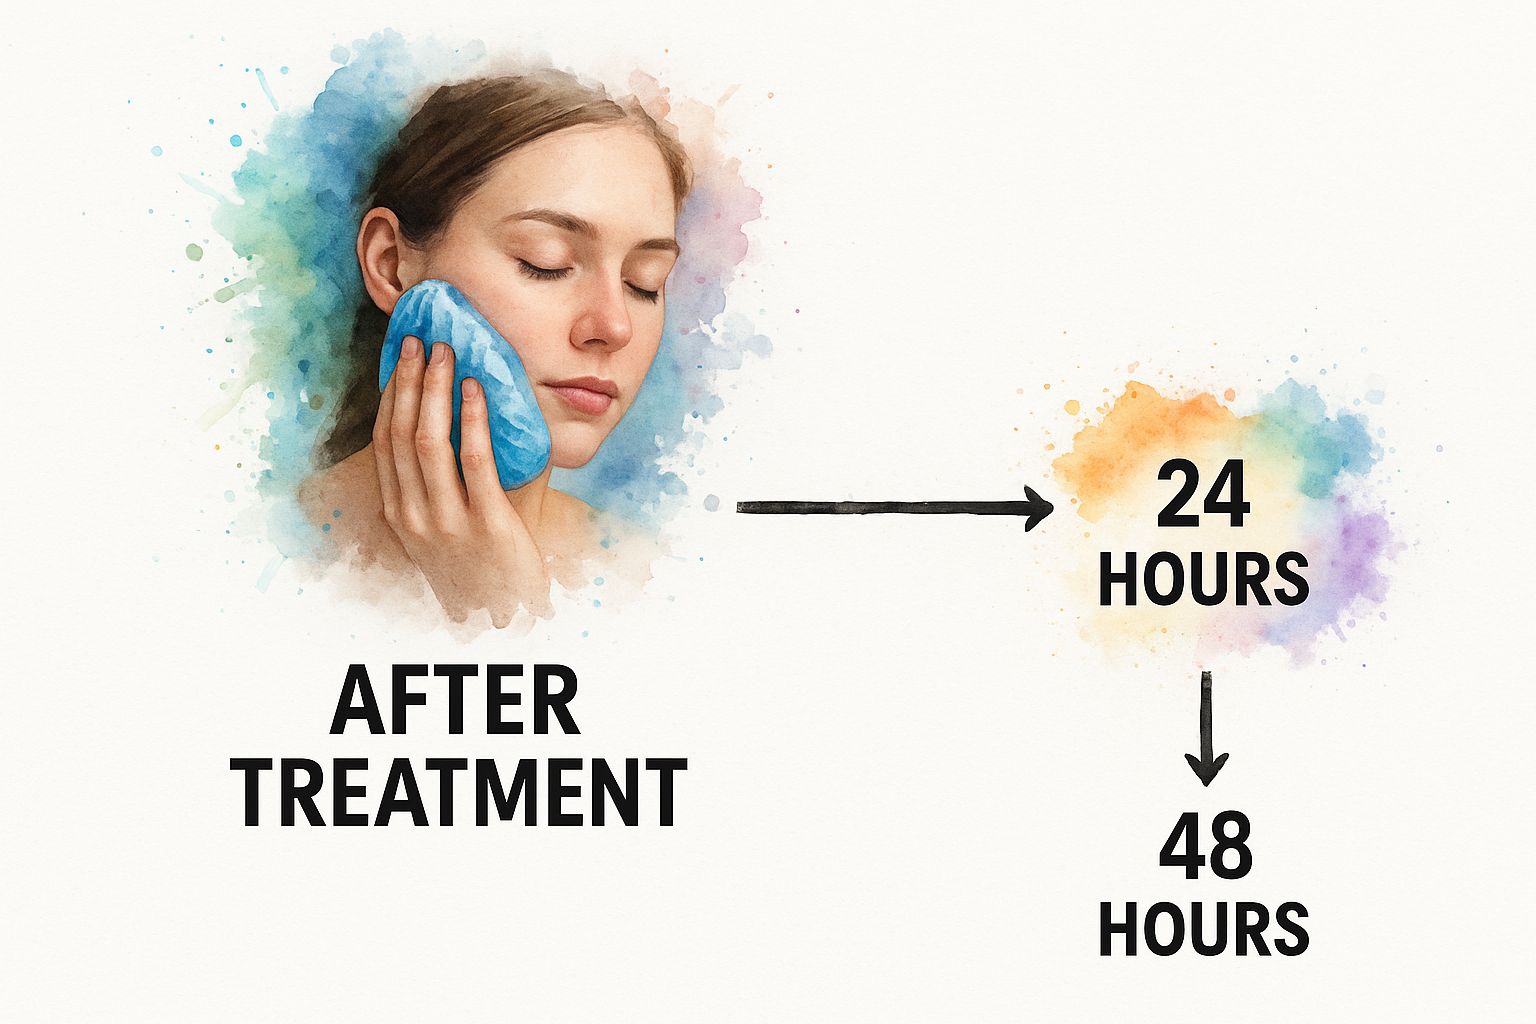
As you can see, the strictest rules—like avoiding strenuous exercise, makeup, and alcohol—are really only for the first one to two days. It’s a short-term commitment for a long-term result.
To help you keep track, here’s a quick overview of what to expect and what to do over the next couple of weeks.
Dermal Filler Aftercare Timeline At a Glance
Timeframe | What to Do | What to Avoid |
|---|---|---|
First 24-48 Hours | Apply a cold compress gently. Keep your head elevated. Drink plenty of water. | Strenuous exercise, alcohol, makeup, excessive heat (saunas, hot tubs). |
Days 3-7 | You can resume gentle exercise. Continue to be gentle with the treated area. | Massaging or rubbing the area. Facials or other skin treatments. |
Week 2 | Asses your results as swelling fully subsides. Attend your follow-up appointment. | Any significant pressure on the area. Sleeping on your face. |
This timeline is a great reference, but always remember to follow the specific advice given to you by your practitioner.
Protecting Your Investment
You’ve joined a huge and growing number of people who love these effective treatments. A recent audit from the British Association of Aesthetic Plastic Surgeons (BAAPS) actually revealed a 27% increase in dermal filler procedures right here in the UK. This just goes to show how important it is for everyone to have clear, reliable aftercare advice to ensure they are both safe and happy with their results.
Crucial Tip: Avoid touching, prodding, or applying any firm pressure to the treated area. If I could give only one piece of advice, this would be it. It’s the single most important rule to prevent the filler from migrating or settling unevenly. If you've had a non-surgical nose treatment, we have some more specific tips in our complete guide to liquid rhinoplasty aftercare.
Finally, and I know this is the hardest part, try not to analyse your results too closely in the first few days. Initial swelling and even some minor bruising can make the area look a little asymmetrical or fuller than the final outcome will be. Trust the process. Patience is key—just allow your body time to heal and the filler time to settle in beautifully.
Navigating Swelling and Bruising in the First 48 Hours

It’s completely normal to see some swelling and maybe a bit of bruising after your treatment, so please don’t be alarmed. This is just your body’s natural response to the injections. The key to getting through it comfortably is all in how you manage the first 48 hours. Get this part right, and you’ll not only feel better, but you’ll also be on the fast track to seeing your beautiful final results.
Your first instinct might be to reach for an ice pack, which is a great idea, but there’s a right way to do it. Applying a cold compress is genuinely one of the most effective things you can do to keep both swelling and bruising to a minimum.
Mastering the Cold Compress
To get the most out of icing, grab a gel pack or a handful of ice and wrap it in a clean, thin cloth. A tea towel works perfectly. Never, ever apply ice directly to your skin—it’s far too harsh and can cause irritation or even an ice burn.
Gently hold the compress against the tender areas for about 10-15 minutes at a time. You can repeat this a few times throughout the day. This on-and-off approach is much better than constant icing; it constricts the blood vessels, which in turn reduces blood flow and helps stop swelling and bruising in their tracks.
Practitioner's Tip: Resist the urge to press down hard. The goal here is gentle cooling, not applying pressure. Pushing on the area could disturb the filler we’ve just so carefully placed. A light touch is all you need.
Smart Lifestyle Adjustments
Beyond a cold compress, a few small changes to your routine over these first couple of days can make a world of difference.
Sleep Strategically: Try sleeping on your back with your head propped up on an extra pillow. This simple trick uses gravity to your advantage, helping to drain fluid away from your face and prevent that puffy morning-after look.
Stay Hydrated: Drink plenty of water. Most modern fillers are made of hyaluronic acid, which loves to bind with water. Keeping well-hydrated helps the filler settle in smoothly and supports the overall healing process.
Be Mindful of Your Diet: Cutting back on salty foods for a day or two can also help manage swelling. High-sodium meals encourage your body to retain water, which can make puffiness worse.
Managing Discomfort and What to Avoid
A little bit of tenderness is to be expected, and paracetamol is perfectly fine to take if you need it. What’s more important is knowing what not to take.
For the first 48 hours, you must steer clear of any anti-inflammatory drugs like ibuprofen or naproxen. The same goes for supplements like fish oil, high-dose vitamin E, and ginkgo biloba. These all have a blood-thinning effect, which can make bruising much more noticeable. If you’re on any prescribed medication, especially blood thinners, this is something we should have already discussed before your treatment.
By following these specific dermal filler aftercare instructions, you’re taking control of your recovery. You’re actively managing the most common side effects, ensuring everything heals as smoothly and quickly as possible. Before you know it, the initial swelling will have subsided, revealing your gorgeous, settled results.
Protecting Your Results During the First Week

Once the initial swelling starts to go down, your focus for the first week shifts. It’s less about managing those immediate side effects and more about protecting the filler as it settles into your facial tissues. This is a critical window for preventing what we call filler migration.
I often tell my clients to think of the filler as being like freshly poured cement – it needs time to set properly. Any significant pressure or intense activity during this stage can disrupt that delicate process, and you really don't want that to affect your final results.
Mind Your Activity Levels
Your practitioner almost certainly told you to skip the gym for the first 24-48 hours, and there’s a very good reason for it. Strenuous exercise gets your heart rate up and increases blood flow, which can bring back swelling and heighten the risk of bruising. It also involves intense facial movements and expressions that can put unwanted pressure on the treated areas.
But it’s not just about the gym. The rule applies to any activity that can raise your body temperature and blood pressure. For the first week, you should definitely avoid:
Hot environments: Things like saunas, steam rooms, and even very hot baths or showers are best postponed for at least a week. All that heat can make swelling worse.
Intense Sun Exposure: Sunbathing or using tanning beds is a no-go for the first week. The combination of heat and UV exposure can inflame the skin and potentially interfere with the filler. If you have to be outside, always wear a broad-spectrum SPF.
By the end of the first week, you can usually get back to your normal exercise routine. But, if you’re into activities that put direct pressure on your face—like wearing tight swimming goggles or a VR headset—I’d strongly advise waiting a full two weeks.
Adjusting Your Skincare and Other Treatments
What you put on your skin is just as important as how you treat your body. Your skin will be sensitive after the injections, so a gentle, pared-back approach is vital.
For the first week, hit pause on any harsh or "active" skincare ingredients. This means putting aside products with retinoids (like retinol or tretinoin), exfoliating acids (glycolic, salicylic), and any harsh physical scrubs. They can easily irritate the injection sites and your already sensitive skin. Instead, stick to the basics: a gentle cleanser, a simple hydrating moisturiser, and, of course, your daily sunscreen.
It’s also crucial to postpone any other facial treatments for at least two weeks after your fillers. This includes professional facials, chemical peels, microdermabrasion, laser treatments, or even facial waxing. These procedures can apply pressure and heat that might interfere with how your filler settles.
Giving it that two-week buffer ensures the filler has fully integrated before you introduce anything else, protecting both your results and your investment. It's especially relevant today, with the UK dermal fillers market, valued at £0.44 billion, predicted to boom to £2.06 billion by 2035. This growth is largely driven by younger consumers who rightly expect fantastic, long-lasting outcomes. You can learn more about the growing UK dermal filler market trends at Aesthetic Medicine.
Right, you’ve had your treatment and you’re on the path to seeing your final, fabulous results. But what happens in those first few days? Knowing what’s normal and what’s not is probably the most crucial part of your aftercare journey.
A little bit of swelling and maybe a small bruise or two are completely par for the course. But your gut instinct is a powerful tool. If something feels off, or you're just not sure, it’s always, always better to get in touch with your practitioner than to sit at home worrying. We're your partners in this, and we'd much rather hear from you. The goal isn't to make you anxious, but to give you the confidence to act quickly if you need to.
Normal Healing vs. Red Flags
So, how can you tell the difference?
Normal healing is pretty straightforward. You’ll see mild, temporary symptoms that get better day by day. Think a bit of tenderness where you were injected, some slight puffiness, and maybe a minor bruise that fades over a week or so. All totally typical.
Warning signs, on the other hand, are the symptoms that either feel severe right from the start or, crucially, get worse instead of better. Being able to spot these means you can give your practitioner a call straight away.
Here are the specific red flags that mean you should pick up the phone immediately:
Pain that’s getting worse: A dull, mild ache is one thing. But if you’re feeling a severe, throbbing pain that paracetamol doesn't touch, that’s not normal.
Bruising that spreads: A tiny pin-prick bruise is common. Extensive, dark bruising that seems to be creeping far beyond the treatment area is a definite concern.
Changes in skin colour: This is the big one to watch for. If the skin around the filler looks unusually pale, white, or develops a blotchy, mottled, almost net-like pattern (known as livedo reticularis), you need to contact your practitioner, day or night.
These symptoms, especially that strange skin discolouration combined with pain, could point to a vascular occlusion. This is a rare but very serious complication where filler has accidentally blocked a blood vessel. It requires urgent medical treatment to dissolve the filler and get blood flowing back to the area.
How to Spot a Possible Infection
Infections are rare, especially when your practitioner follows strict sterile procedures, but they can happen. The signs are usually quite distinct from the initial swelling you get right after treatment.
You might be looking at an infection if you notice:
The area is becoming more red and hot to the touch, and it’s getting worse after the first 48 hours.
The site is getting more tender, or you can feel a painful lump forming, perhaps with some pus or weeping.
You start to feel generally unwell, like you’re coming down with a fever or have the chills.
If any of these signs appear, it’s vital to get medical advice without delay.
Taking this post-treatment monitoring seriously is so important. Regulatory bodies have voiced major concerns about the lack of consistent aftercare in the UK. A report from the Chartered Trading Standards Institute (CTSI) even warned of a ‘huge health risk’ due to lax industry regulation, pointing out that too many patients get very little aftercare support. This dangerous gap is exactly why clear dermal filler aftercare instructions and an open line of communication with your practitioner are non-negotiable for your safety. You can read more about the UK's call for urgent aesthetics regulation on Harley Academy.
Long-Term Care for Lasting Filler Results
So, you’ve made it through the initial two-week healing period. Well done! From this point forward, your aftercare shifts from immediate recovery to long-term maintenance. It’s all about protecting your investment now and making sure you get to enjoy those beautiful, subtle results for as long as you possibly can.
This phase isn't about complicated rituals. It’s about smart, consistent habits that support both your filler and your overall skin health, creating the perfect environment for your results to truly last.
The Foundation of Lasting Results
If there’s one thing you can do to make a massive difference, it’s committing to a high-quality daily skincare routine. And the absolute cornerstone of that routine? Sun protection.
I can't stress this enough: Ultraviolet (UV) radiation is the enemy of both your natural collagen and the hyaluronic acid in your fillers. It actively breaks them down. To shield your results, you need to wear a broad-spectrum sunscreen with at least SPF 30 every single day. No exceptions. That includes cloudy days and the middle of a bleak UK winter, because those UVA rays are relentless.
My Top Tip: Think of daily SPF as your insurance policy. It's the single most effective step you can take to extend the life of your fillers and keep premature skin ageing at bay.
Beyond sunscreen, a simple routine with a gentle cleanser and a good hydrating moisturiser will keep your skin happy and balanced. If you want to go a step further, products packed with antioxidants can provide an extra shield against environmental damage. For those considering other treatments, it’s crucial to understand their unique aftercare needs. For example, our guide to chemical peel aftercare explains the specific recovery steps for that procedure.
Planning Your Aesthetic Journey
That two-week follow-up appointment we book is so important. It’s our chance to sit down together, assess how beautifully the filler has settled, and check that you’re absolutely delighted with the outcome. We can also make any tiny tweaks needed to get it just right.
This is also the perfect time to start thinking ahead. Dermal filler longevity isn’t a one-size-fits-all deal; it really depends on a few things:
The Filler Itself: Thicker, more structural fillers used in cheeks or the jawline can last 12-18 months. In contrast, softer, more flexible fillers for the lips might last closer to 6-12 months.
Where We Placed It: Fillers in high-movement areas, like around the mouth and in the lips, tend to be metabolised more quickly than those in more static areas like the tear troughs.
Your Body: Everyone has a unique metabolism, and this plays a big part in how quickly your body naturally breaks down the filler.
During your follow-up, we can map out a personalised treatment schedule. By planning your top-ups strategically, we can maintain your results seamlessly. This ensures you always look refreshed and confident, without ever straying into that "overdone" territory. It’s how we turn a single treatment into a sustainable, long-term plan for feeling your best.
Your Dermal Filler Aftercare Questions Answered
Even with the clearest instructions, it’s completely normal for little questions to pop up as you heal. You’re definitely not alone in wondering about the finer details, and getting good answers is the key to feeling confident and relaxed while your filler settles.
This section is dedicated to tackling the most common queries we hear from our clients, offering practical advice to help you navigate the aftercare process smoothly. Let's dive into some of the things that might be on your mind.
Can I Wear Makeup After Getting Dermal Fillers?
Patience is your best friend here. It’s always best to wait at least 24 hours before applying any makeup to the treated areas. The tiny injection points need this time to close up properly.
Applying makeup too soon can introduce bacteria, which seriously increases your risk of infection. Not only that, but the pressure from dabbing on foundation or concealer with a brush or sponge could disrupt the freshly placed filler. When you do start wearing makeup again, make sure your tools are squeaky clean. Many clients find that mineral makeup is a great choice, as it’s generally less irritating for sensitive, post-procedure skin.
What Should I Do If I Notice a Lump?
Don’t panic! Feeling small, pea-sized lumps or a bit of unevenness under the skin is very common in the first few days—and sometimes up to a week—after treatment. This is usually just localised swelling or the filler itself before it has fully softened and integrated into your tissue.
Crucial Advice: Do not massage or press on these lumps unless your practitioner has specifically told you to. Unnecessary prodding can move the product and mess with your final result.
For most people, these minor lumps will soften and vanish on their own within one to two weeks. If you notice a lump that is particularly large, visible, painful, or is still hanging around after the two-week mark, it’s important to get in touch. Your practitioner can take a proper look at your follow-up appointment.
When Is It Safe to Fly After Fillers?
We strongly recommend waiting at least one to two weeks before hopping on a plane. The changes in cabin pressure can sometimes make swelling and bruising worse, which is just plain uncomfortable.
More importantly, flying takes you far away from your practitioner. In the very rare event that a complication were to arise, you need to be able to get expert medical help quickly. It’s always safest to stay local for the first couple of weeks. This ensures you can easily attend your scheduled follow-up and get support if you need it.
Can I Drink Alcohol After My Appointment?
You should avoid alcohol for at least 24-48 hours both before and after your dermal filler appointment. Alcohol is a vasodilator, meaning it temporarily widens your blood vessels. This increased blood flow can significantly heighten your risk of bruising and swelling at the injection sites.
For a smoother recovery with minimal side effects, stick to water and stay well-hydrated instead. This simple swap supports the healing process far more effectively. While this advice is specific to fillers, similar principles apply to other treatments. For those interested, we detail similar advice in Your Essential Botox Aftercare Guide.
At Charis Aesthetics, we believe that exceptional results are built on a foundation of expert care and clear communication, from your initial consultation right through your recovery.
Ready to start your journey to refreshed, natural-looking results? Book your consultation with us today.
Comments